Recording Expenses
Data integrity starts when you log an expense. This lesson keeps the focus on choosing the right vehicle and capturing every required field.
Add an expense
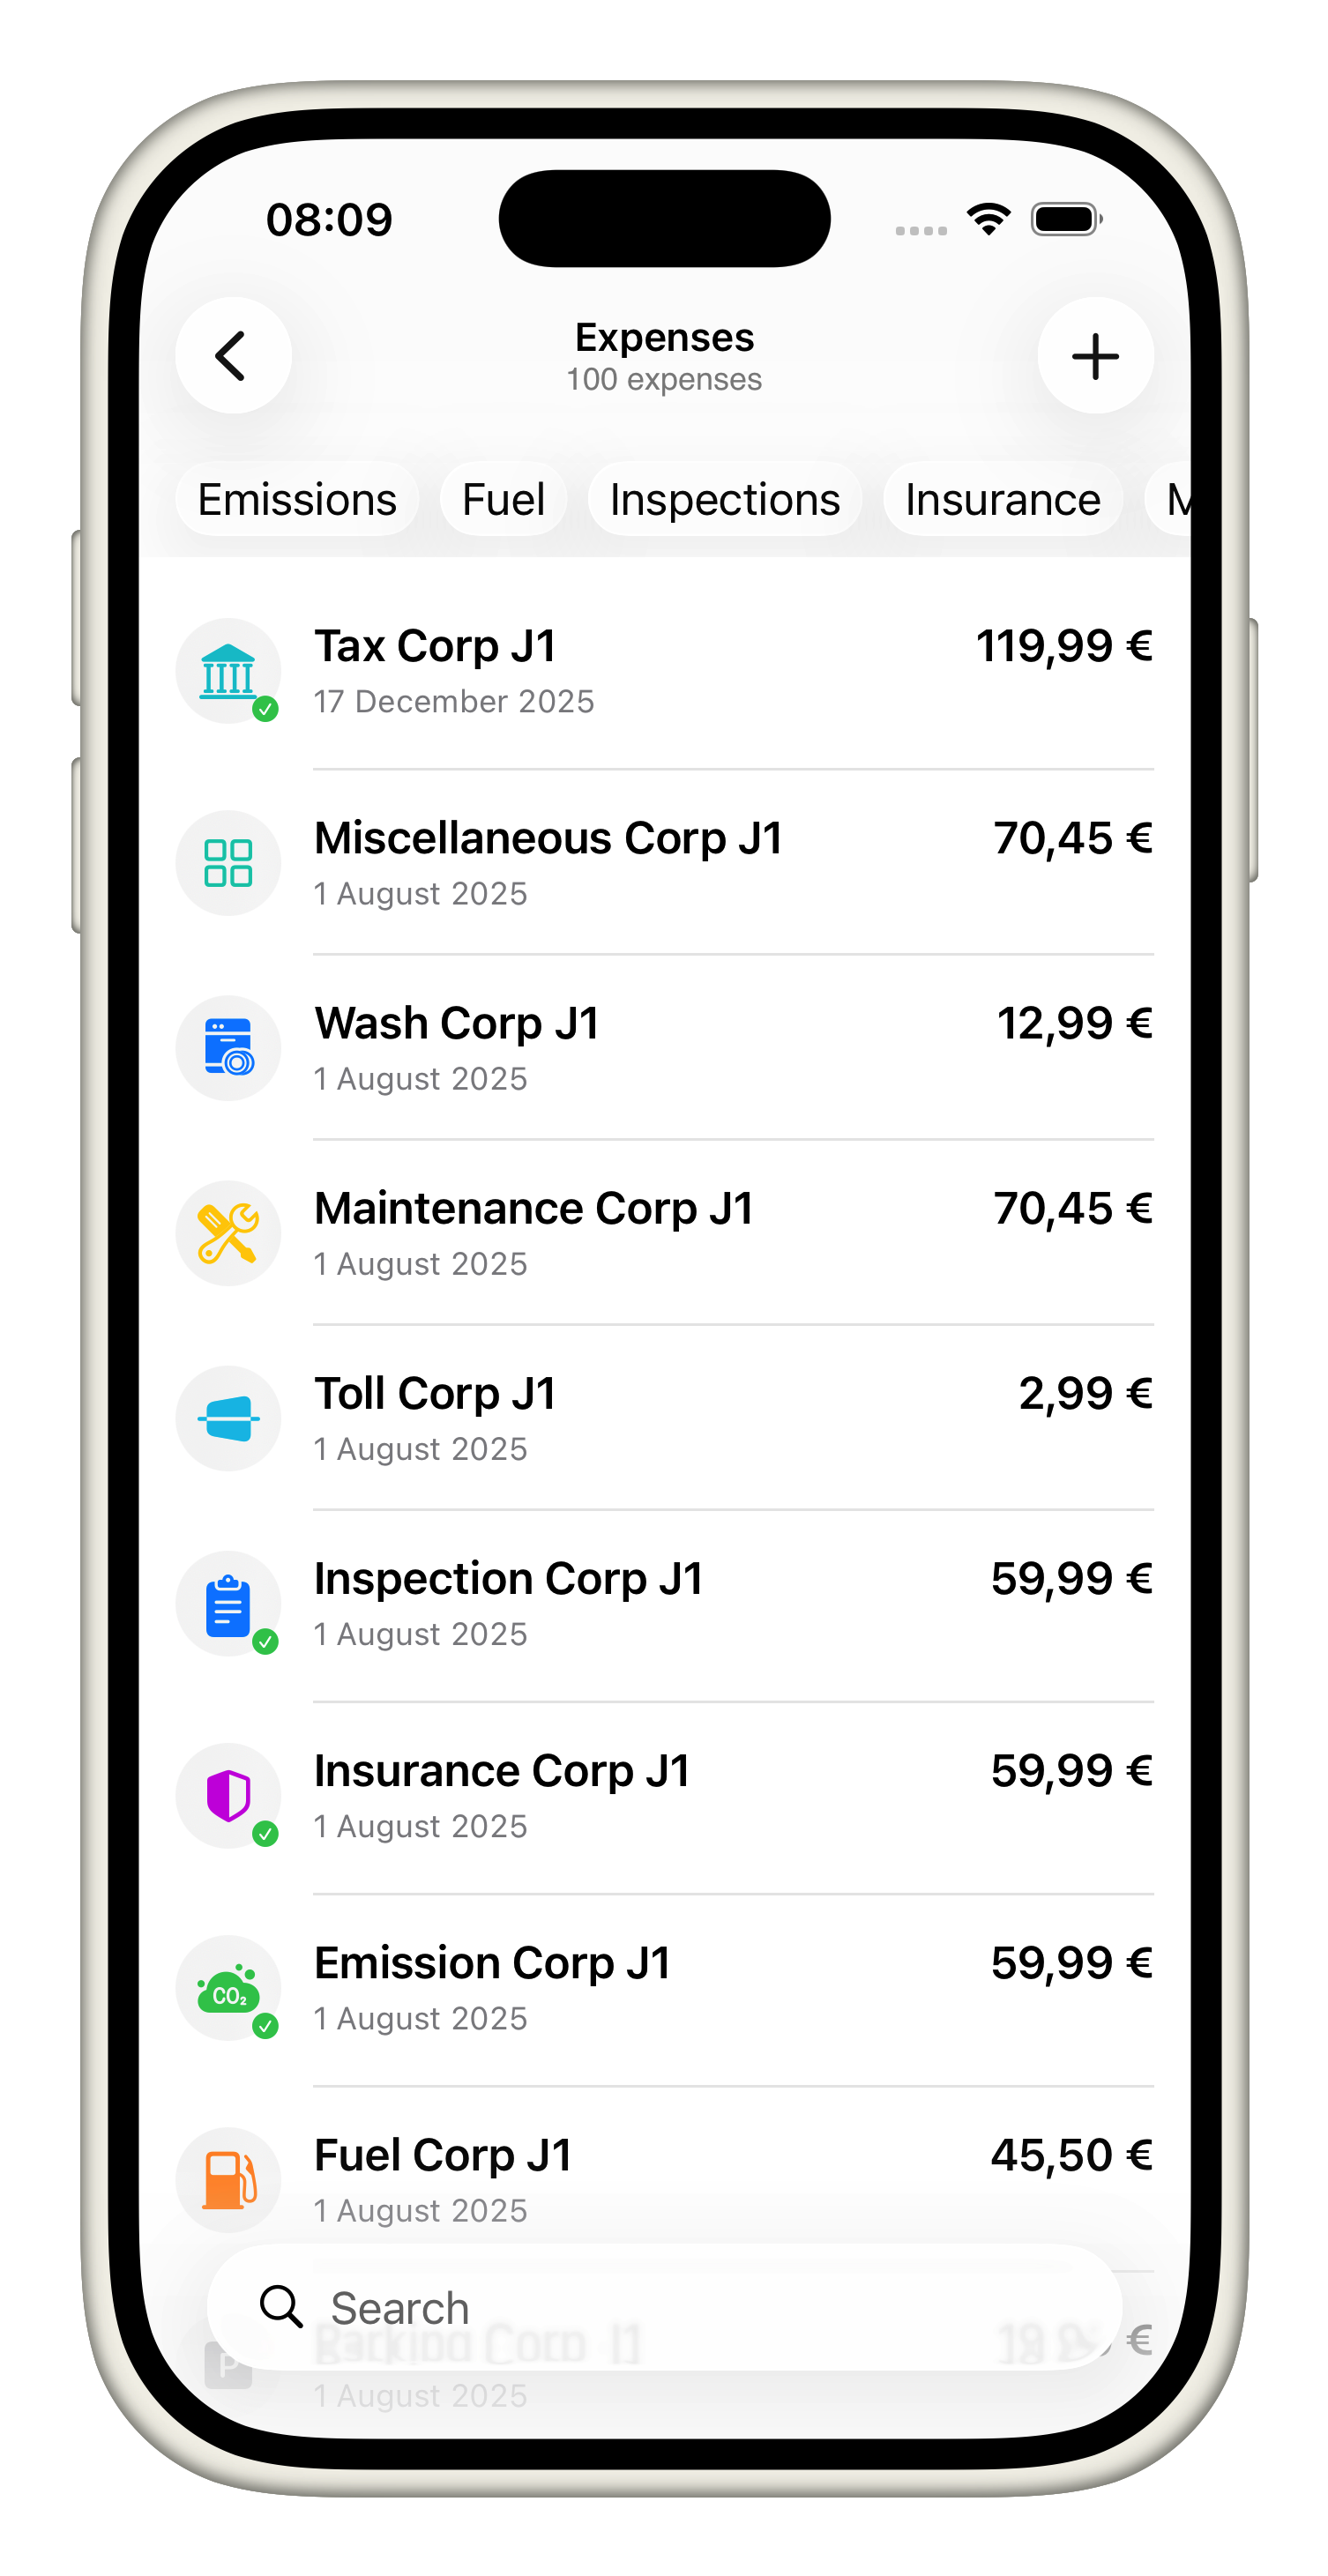
- Open the vehicle from the Home tab, tap “Expenses,” and then tap “Add Expense” to bring up the form that records every cost.
- Choose the right category—MilesCost supports Emission, Fuel, Inspection, Insurance, Maintenance, Miscellaneous, Parking, Tax, Toll, and Wash—so the app can surface the proper fields and analytics for that type.
- Give the expense a clear name, enter the amount you paid, and log the odometer when applicable (emission, inspection, and maintenance entries all track mileage).
- Fuel expenses add a fuel-type picker plus a per-unit cost field so MPG/efficiency helpers stay accurate.
- Categories that span multiple dates (emission, inspection, insurance, tax) show both start and end pickers plus the optional notification toggle so you can schedule a reminder before the next due date.
- For location-aware costs (emission, fuel, inspection, maintenance, parking, toll, wash), tap “Location,” place the pin, and the app saves the address automatically.
- Add notes for receipts or follow-up tasks, enable any notification you need, and tap “Done.” The entry attaches to the vehicle, updates analytics, and (if requested) schedules a reminder, keeping the vehicle's history complete.
Every recorded expense becomes the building block for the other tutorials, so make sure all fields are completed before moving on.