
Recording Vehicles

The Home tab is the launching pad for every vehicle in MilesCost. Follow these steps to onboard and manage cars, bikes, or trucks.
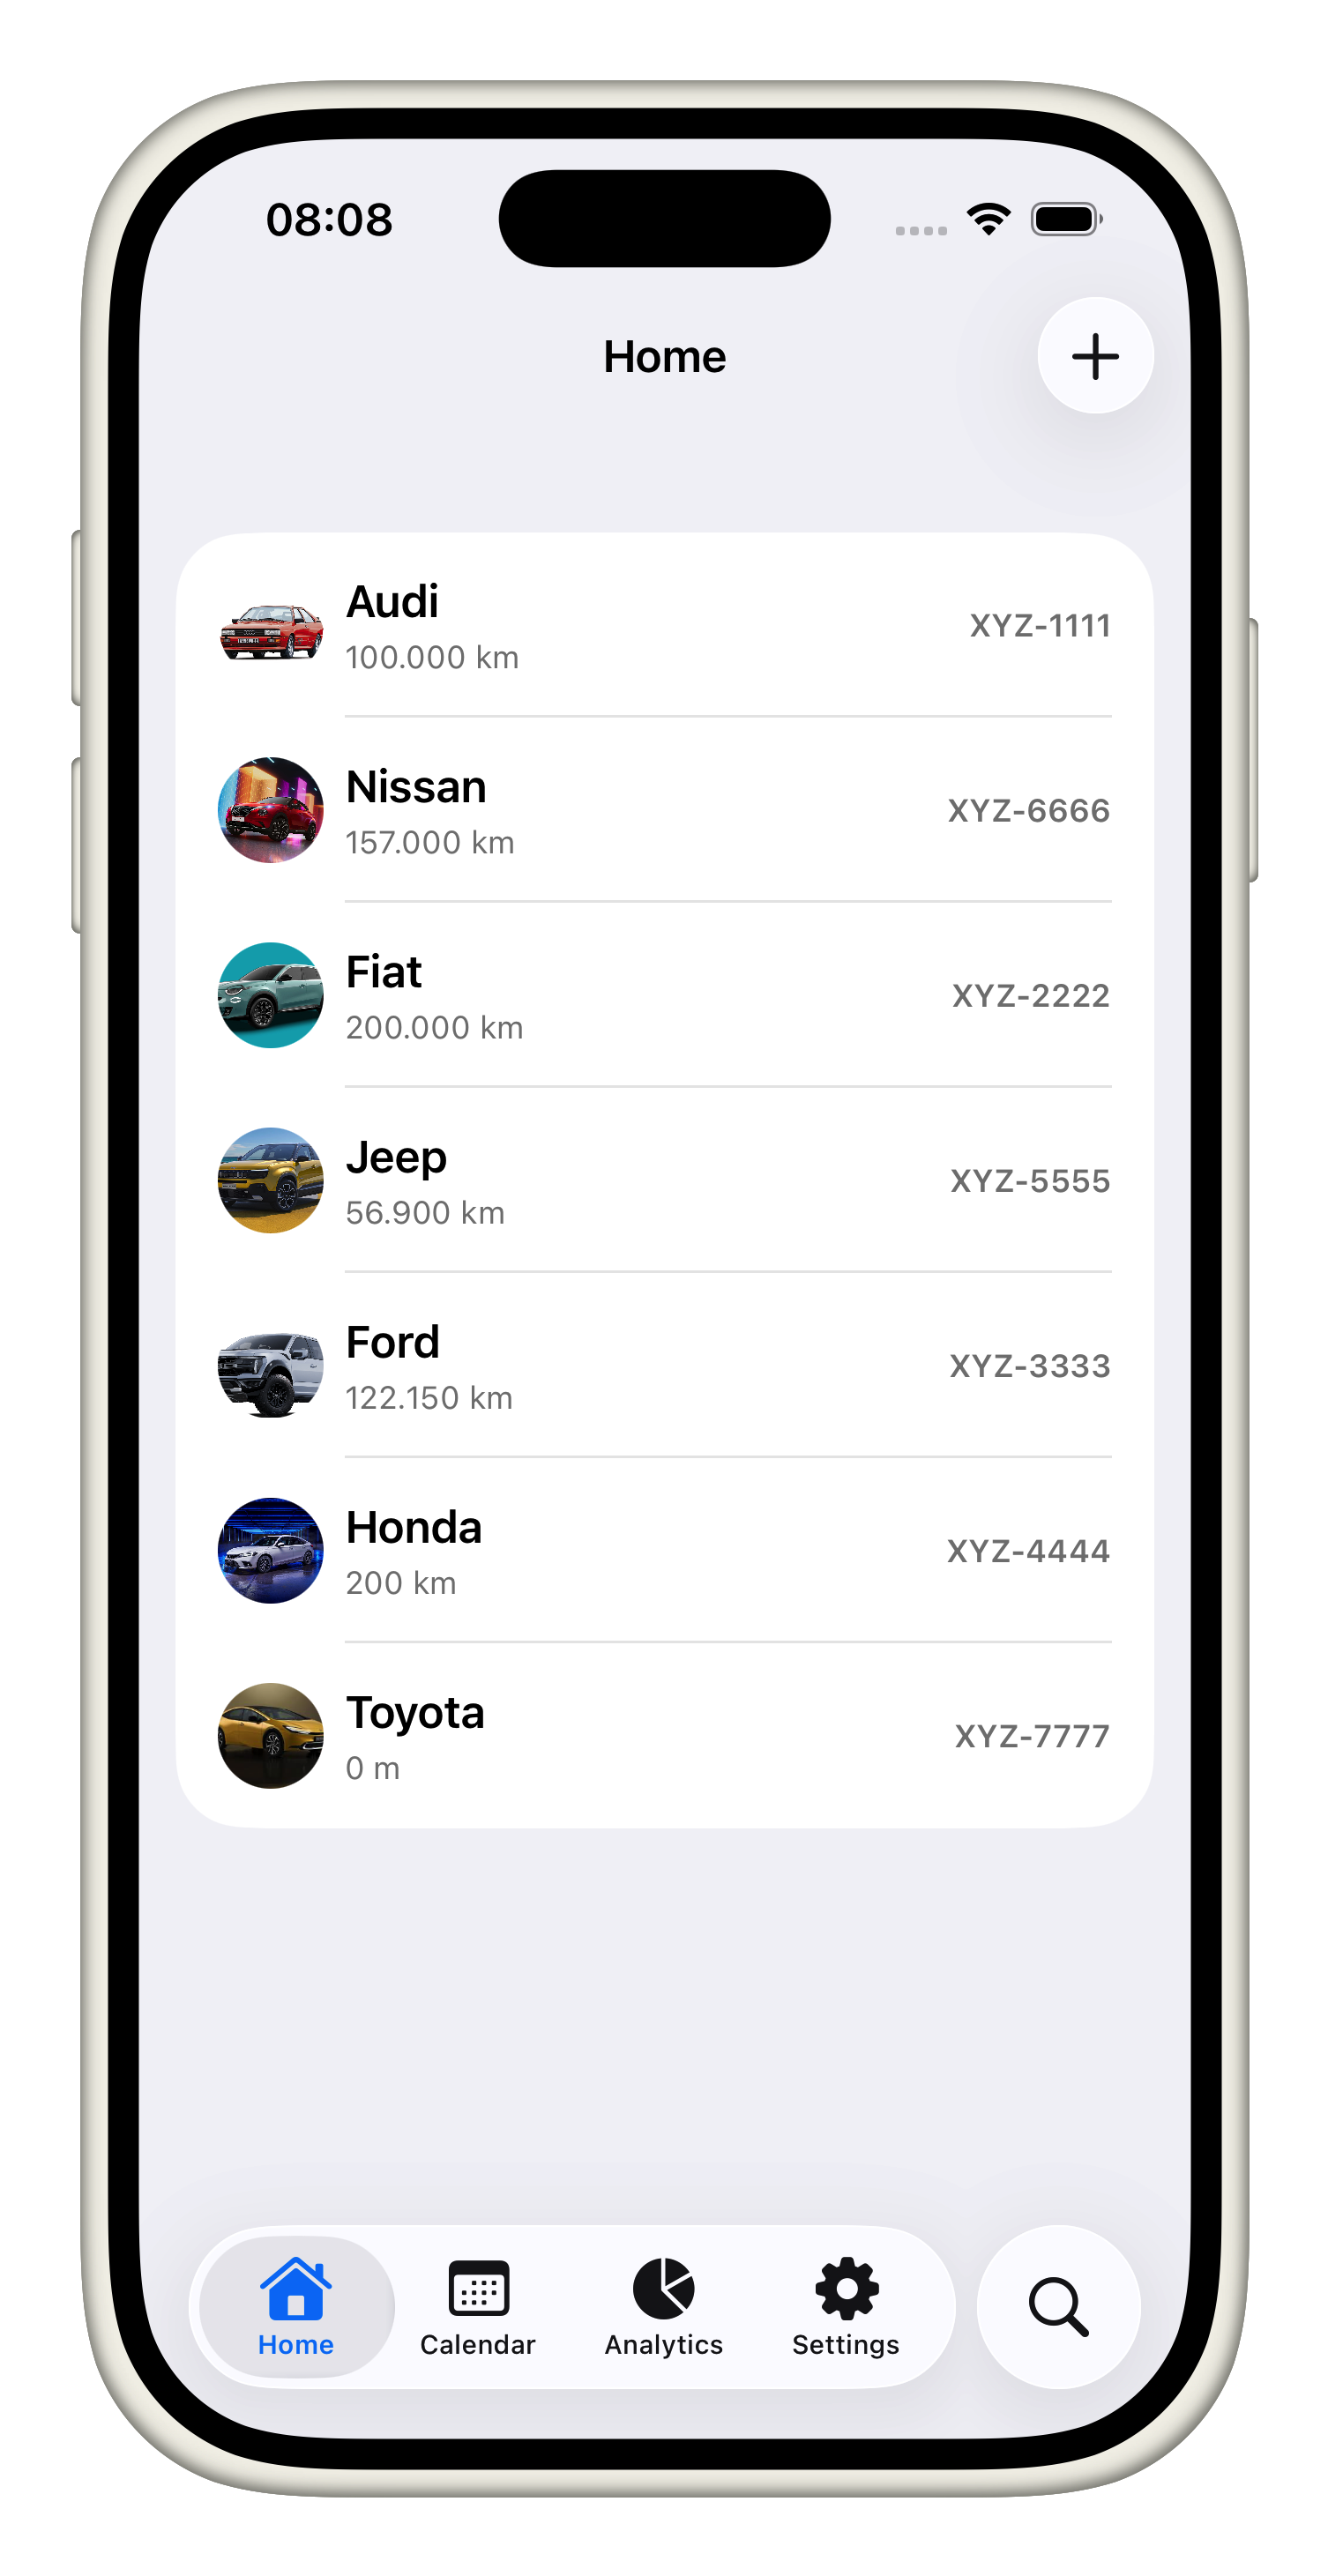
Home View

Add a vehicle

  1. Open the Home tab and tap the “Add Vehicle” button that sits at the top-right of the screen; this is the entry point for registering any car, truck, or bike you want to track.
  2. Give the vehicle a descriptive name (e.g., “Toyota Corolla” or “Work Van”) so it's easy to spot across lists, then enter the plate number exactly as it appears on the registration to match receipts or reminders later.
  3. Choose the correct category (car, motorcycle, truck, etc.) so the app can show the right icon and defaults.
  4. Pick the fuel type you use—gasoline, diesel, electric, hydrogen, LPG, or CNG—so cost-per-distance helpers report accurate MPG/energy metrics.
  5. Log the current odometer reading to anchor future service reminders and cost trends.
  6. Add any notes you want to remember (maintenance contracts, priority tasks, etc.), and then tap “Done.” The app validates the name/plate, stores the vehicle, and closes the sheet so you return to the Home list with your new entry already visible.
  7. From there you can tap the vehicle to explore its expenses, statistics, and more; repeat the same “Add Vehicle” workflow whenever you need to track another ride.

Add, edit and remove vehicle image

  • Add or Replace the photo: From a vehicle's detail screen, tap the gray photo placeholder (the vehicle icon with “Add Vehicle Photo” copy) to open your photo library; select a picture and it instantly becomes the sticky header image that follows you through expenses, stats, and details.
Vehicle Image Added
  • Swap out an existing image: With a photo already showing, use the ellipsis menu in the top-right toolbar and tap “Remove Image” to clear it; the placeholder reappears so you can tap it again and pick a new shot, just as you did the first time.
  • Delete the image permanently: Choose “Remove Image” from that same toolbar menu and confirm the alert—once the image is gone, the app discards the stored bytes, hides the header photo, and returns to showing the default vehicle icon until you add another picture.

Jump into the Vehicle view

  1. Open the vehicle view: Tap a vehicle on the Home tab to launch the full detail screen that combines expenses, stats, and quick actions in one place.
  2. Explore the header: The top lets you see the vehicle name, plate, and the hero image or placeholder icon; use the menu (three dots) to remove the image or share it.
  3. Navigate sections: Scroll through the list to reach links for Expenses, Statistics, and Details—each opens a deep dive (expenses list, pie chart analytics, detailed metadata) for focused work.
  4. Use inline controls: The odometer entry shows current mileage, the delete button removes the vehicle when you're done, and the navigation links keep you anchored to the right sub-flows without leaving the detail view.
  5. Close or edit: Tap “Close” when finished or use the top toolbar's edit action to update profile, fuel type, odometer, or notes before returning to the dashboard with refreshed data.

Edit Vehicle

  1. From the Home tab tap on the vehicle card you want to update; it opens the full vehicle detail view where you can inspect expenses, statistics, and settings.
  2. While viewing the vehicle, choose the edit option (usually a “pencil” or “Edit” action) to reopen the same form you used to add the vehicle.
  3. Update any field—name, plate number, category, fuel type, odometer, or notes—so the profile reflects the latest information (plate changes, new fuel type, or updated mileage).
  4. If you change the odometer, the app keeps the new value as the base for all future expense and service calculations, so enter the current reading you just logged.
  5. Tap “Done” to validate the inputs and save; the sheet dismisses and the detail view now displays the refreshed values.
  6. Return to the Home list to confirm the vehicle label/plate now matches your edit, and continue tracking expenses with the updated data in place.

Delete vehicle

  1. From the Home tab, tap the vehicle you want to remove so its detail view loads with links to expenses, stats, and the full profile.
  2. Scroll to the bottom of that detail view where you'll find a red “Delete” button—exactly where you expect it once you're done with that vehicle's bookkeeping.
  3. Tap “Delete,” then confirm when the alert asks “Are you sure you want to delete this vehicle?” (This notice also explains that the action removes the vehicle, all its expenses, and any reminders permanently.)
  4. The app cancels any notifications tied to that vehicle, removes it from the database, and closes the view, returning you to Home with the deleted vehicle no longer listed.

Keeping your fleet tidy here means every other tutorial can assume the vehicle is ready, insured, and connected to your expense history.

Copyright © 2026 Neuron Advance.